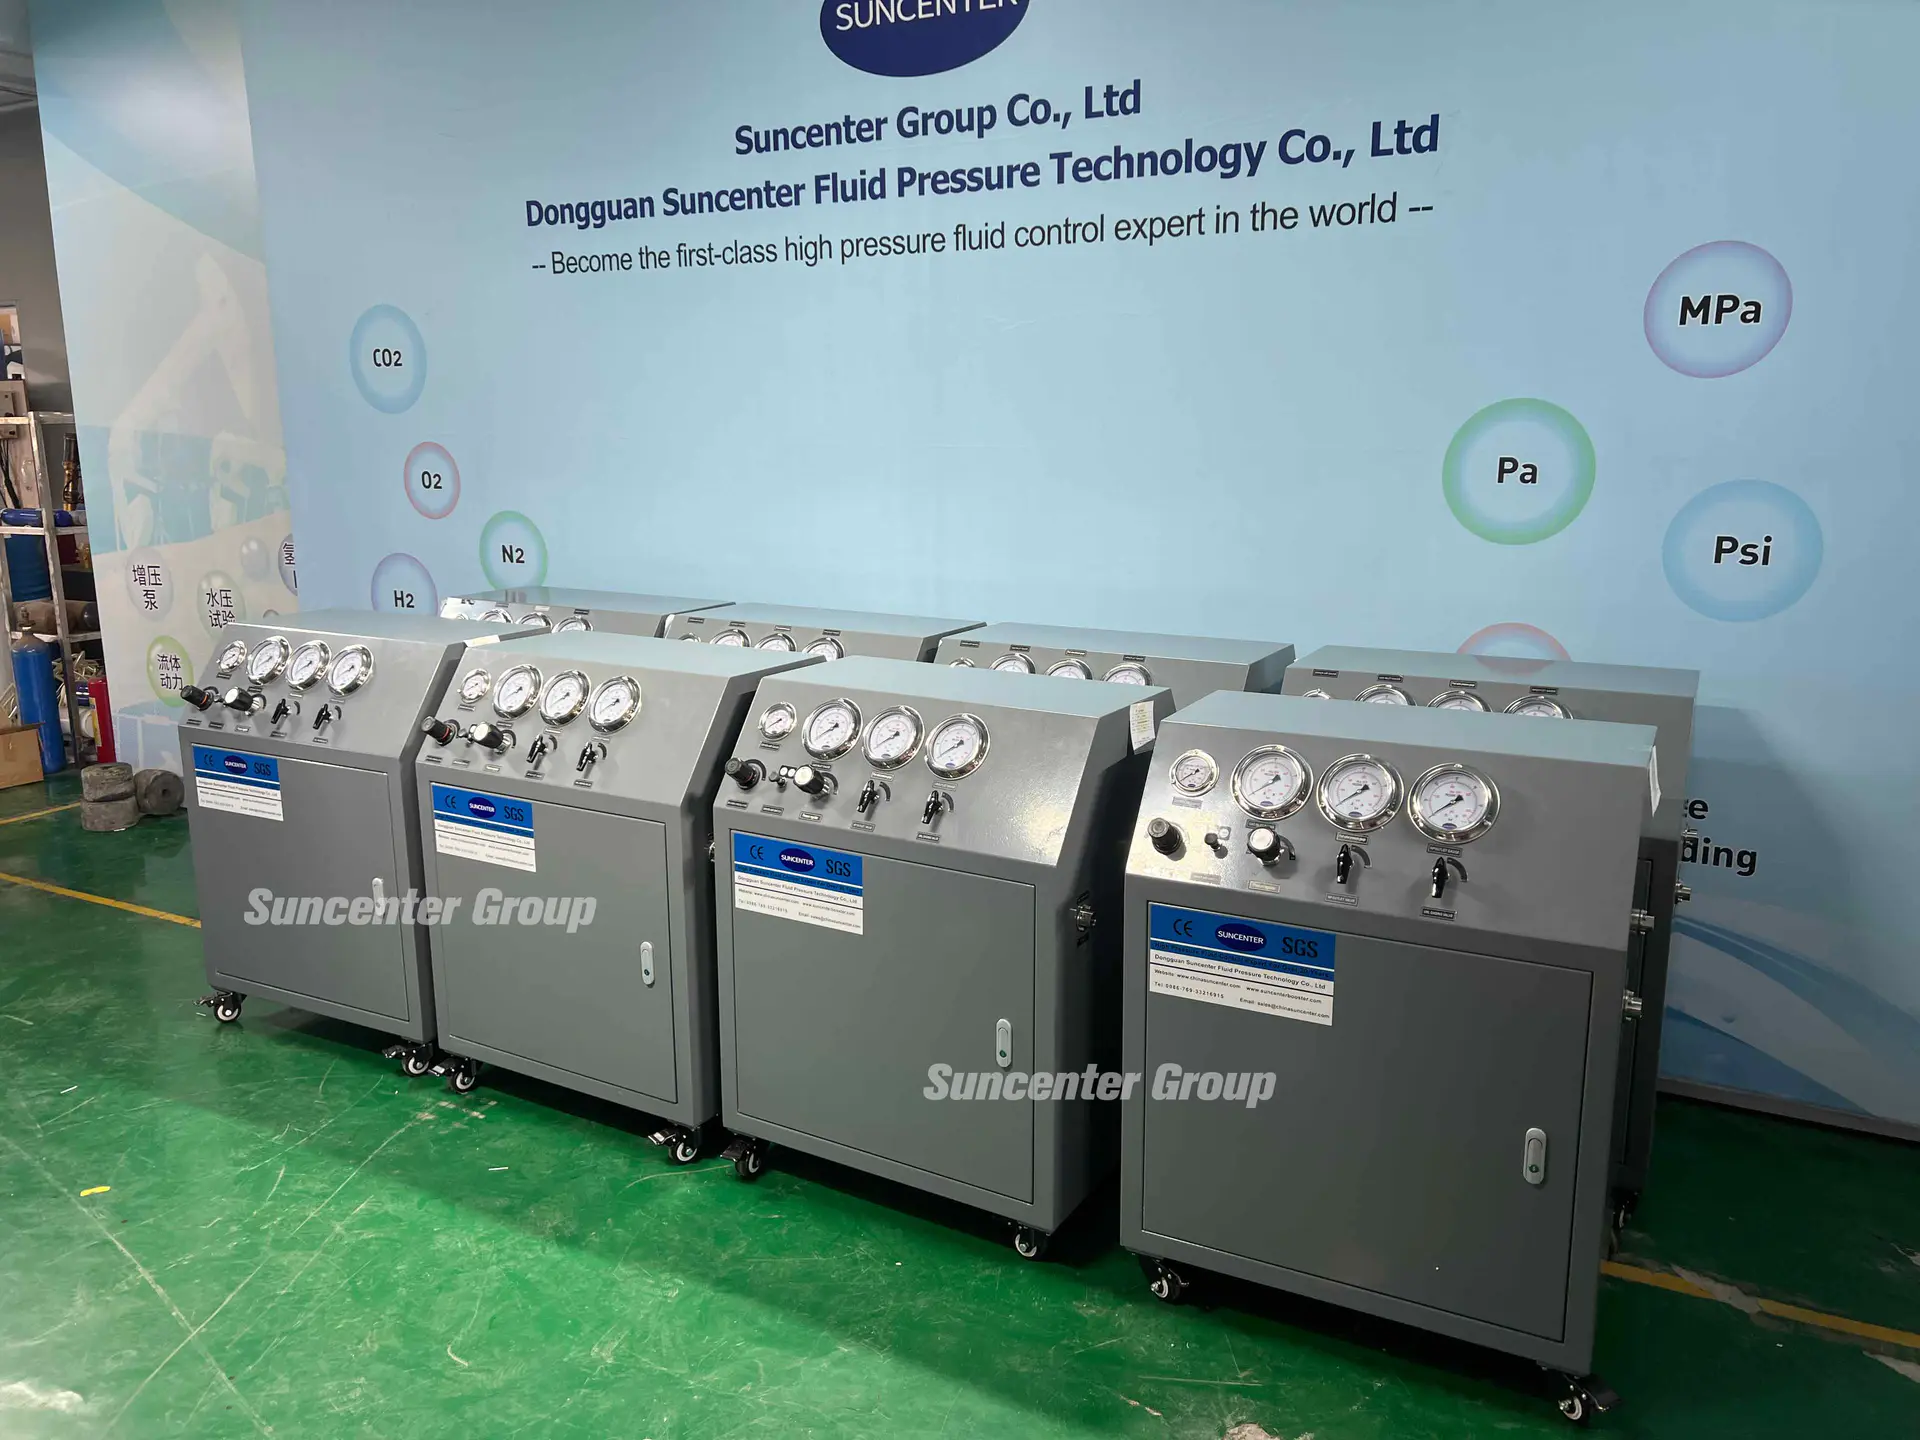
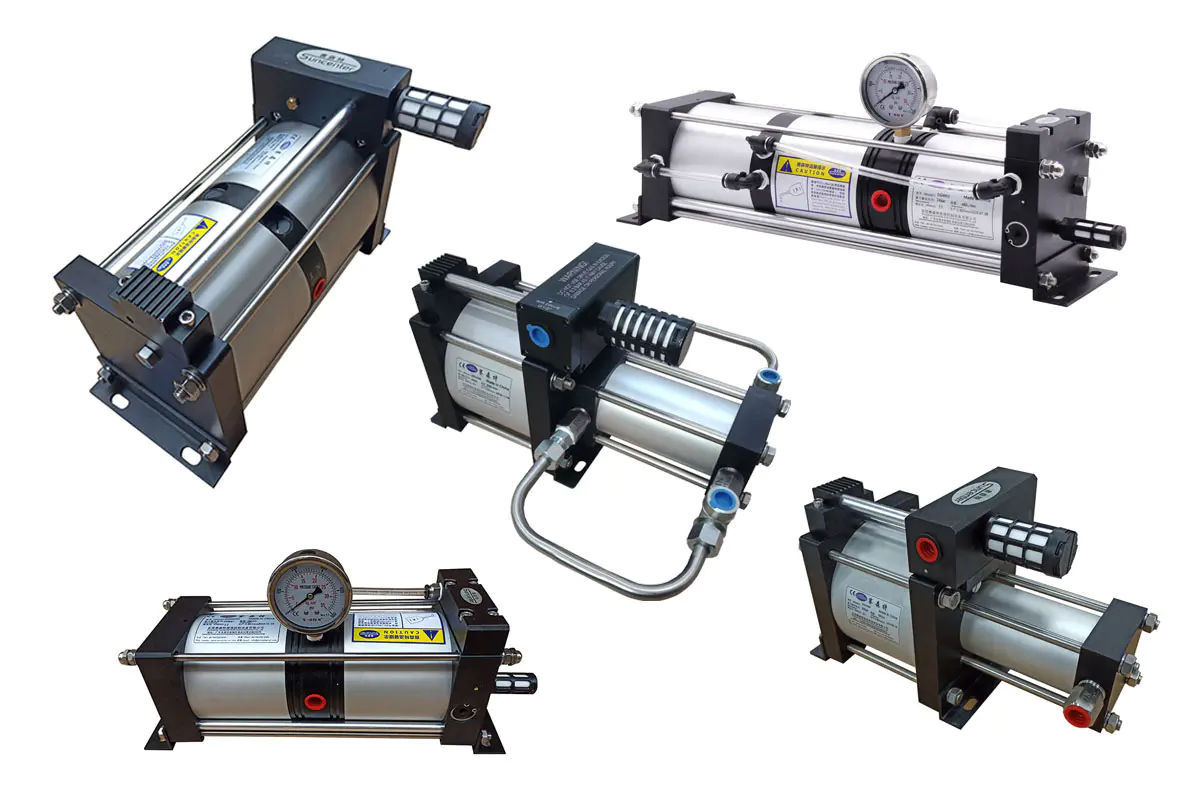
Edit: sweet, I\'m on hackaday! Hello, in this manual I will show you how to use cheap solid-state components and do not use PV (photovoltaic) Battery or panel. I would like to do this project to see if I can exceed the cost per watt for commercial solar panels. You just need some cheap parts to make one. Very simple to build. As far as I know, my thoughts on the combination of thermoelectric cooler and Fresnel lenses are original. . . But it may not. I\'m sorry for the rubber bands and foam, but keep in mind that this is one of my experiments. Rubber bands are the best thing for me! Again, I suggest you build a prototype as well, if (when) You should continue to use more fancy shells. Remember, it\'s just a rough guide, but you can modify it! How it works: this power generation method uses Peltier batteries to generate electricity. Peltier batteries are designed to be used as heat pumps. When you power the Peltier battery, it starts pumping heat, getting cold on one side and getting hot on the other. However, you can do the opposite and generate electricity from the temperature difference on the side. To produce this differential, a Fresnel lens focuses the light on one side of Peltier and it becomes hot. On the other side there is a radiator and a fan powered by Peltier. Statement: The lens concentrates the light absorbed by everything, which generates heat when it is absorbed. You can easily burn yourself and other things with a lens. Don\'t let the sun move. it may focus on something and expose it. I don\'t take any responsibility for anything. For this item you need: a Peltier cell ( I bought a 50 W from eBay for $5 and they are still there) A kind of Fresnel lens ( Mine is about the size of a print sheet and there are a lot on ebay)CPU radiator ( Any type of radiator can work as long as the radiator is large enough. I bought mine at the garage auction for $2. 50)a 5V fan ( More information later) Tools/other materials: Hot putty paint (I used semi- Flat spray paint is not burned) FoamSoldering stuffWire scarterscardboard/foamreflect material on Peltier note: wattage does not affect the power output, but it affects the internal resistance, which in turn affects the voltage output. Higher wattage = lower voltage, higher amperage. You want a lower wattage so the voltage output is high enough. My dad made a DIY projector and one of the Fresnel lenses he bought was scratched so he gave it to me. Warning about Fresnel! Not much bigger than the sheets Because you will blow up your Peltier, the size of the magnifying glass. We may have exceeded its thermal limit, which means it may not last long. We have a bunch of bubbles from RC foam planes. There used to be a fan on the radiator but it was 12 v and barely got out of 5 v so I was looking for a 5 v fan. I was impatient and couldn\'t find one that could be purchased locally, so I went to Fry\'s Electronics company and bought a laptop cooling pad for $10. There\'s also a $5 that works fine. It has two fans built in so I took out 6 screws and took it apart and pried it off the two fan blades/boards. As you can see, they are smart, not independent fans, but fan axles built into the chassis. . . So I was smarter than them and dug out the axle! You can go my way and use band/clamp saw or dremel, but I highly recommend you buy a 5 v fan online so you can save the hassle. First of all, you need to have your things ready. You want to have the biggest heat conduction with non Hot side of Peltier and radiator. You should first remove any mounting device that the radiator may have, and when you are next to it, also remove it if it has a fan. It may have a little hot sticky material on the bottom. This may not be the right size for your peltier. Continue scraping down and then clean the radiator surface with alcohol and paper towels. Put Peltier in the paper and put a black coat of paint on one side of it. I used semi- When I made the first coating, it condensed into spots on the surface, but the second coating covered all the spots. I did wear too much, though, a little thick. Now, apply enough thermal grease on peltier to cover the whole thing. You don\'t want to use too much. Find out where you want your peltier radiator to be and stick it to it. I suggest putting it in the center. Stick it straight on top and swing it a little to make sure the grease is applied correctly. Now you will want to attach your peltier firmly to your radiator. As you can see, I fixed it with wire to prevent it from sliding, but in fact, any thin material that can resist high temperature and can be wound can work properly. Since it will not stick to the smooth surface of the radiator, it is not recommended to glue or tape. You should attach the fan after this. What I do is like the \"baseboard\" I see in the next step. I put a rubber band on the bottom and around the fan to keep it. I had to put a little cardboard between the base and the radiator fins to prevent the fan blades from hitting the sides of the radiator. I bend the cardboard so that part of it slides into the fins, which works perfectly, almost by myself holding the fan in! The first thing I did before making my frame was to cut a substrate from the foam that surrounded Peltier and put it on the bottom of the radiator. Measure the size of your peltier and dig a hole on a piece of foam that is the same size as the bottom of your radiator. Make sure to cut holes for any wire or anything! I have to connect the base plate with rubber bands, which is good for me. I recommend using any available installation hardware, if you can. Just make sure the band doesn\'t go over where the light is focused! The substrate is important because without it, it is difficult to install the peltier/radiator anywhere. Glue/tape does not stick to the radiator. . . It also lets you put a reflective box around Peltier. Once we have identified our framework and identified our focus, we will talk about this. Now you will want to make a frame/shell for everything. In the photo, you can see what I did and improvise at any time. There are many ways to make one. You can make a box, or a foldable stand, or do what I do, which is a combination. The strategy is the same for all of them. Find out the rough measurement range between the peltier unit and the focus lens as you will want the peltier- Adjustable distance. Do not measure the focus of the light at the smallest point, this will only burn the paint. Flip around the lens until you point the side to your \"measuring surface \"( I use napkins so I don\'t burn) This will create a point of square size and measure it at that point a little smaller than the total size of Peltier Remember, there are two points in the position of the Peltier size. The use of one or a reflective body cloth further away will actually block the light! Once you find the focus Point range, put your frame. Mine has a slit where you can move the foam panel back and forth to adjust the focal length. The light- The collection component is on top of this. See photos for more details. One thing to remember when making frames/shells, etc. Because this produces the use of heat, heat management is everything. If the heat of the radiator does not pass through peltier ( Maybe the light falls on it) Then you lose a lot of power. Now that you \'ve built your frame and everything, we\'re going to make the reflective wrap I mentioned. I do this by cutting four foam that are half wide and a little longer than the side of Peltier, glue them in the formation you can see and doublesided- Stick the aluminum foil inside. Tip: The Mera in the potato chips packaging bag is a better mirror. I actually extended it so I could put an plexiglass window to catch the heat, but it was in the focus so it distorted the lens. . . Maybe I will drill a hole. To give the fan some extra power, I spent $3 to connect a 3v15ma solar panel together, support it with a skewer and connect it in series with Peltier. The reusable application of the power supply can still be obtained, Because the solar panels are only for fans. I used springy- Pieces of wire connecting the wires. The circuit has peltier in series and solar cells that generate 5 V for the fan. From my setup, the maximum voltage I recorded is exactly 2. 7v. The internal resistance of Peltier is ~ 3 ohms, because in 7. 5 v enter it to draw ~ 2. 5A. That means I can get 2. 7/3 = . 9A out, and 2. 7*0. 9 = 2. 43W. So now I\'m going to figure out the cost of building it for ordinary people. Radiator = $5 Peltier = $5 lens = $5 fan = $5 optional: solar cells = $3 Total: $20- This is equivalent to about $10/watt, which is equivalent to the cost of commercial solar panels. Very good for untested experiments. However, some of the disadvantages of doing so are :- My fence is too fragile to be placed vertically so it can harvest power in the middle of the day Good goals are needed to be effectiveLarge- The efficiency is lower than PVYeah, and the technology may not be ready for prime time yet. But it\'s fun and fun to make/cheap. One thing you might want to know is, why is the power output so low? First of all, Peltier\'s wattage is not the power it will output. This is the power it consumes at the rated voltage. Also, Peltiers are not designed for power generation. They are optimized for heating. To really take advantage of the existing energy, you need a Seebeck device. These are the same things, but optimize generation. With the seebeck unit, the power output will increase many times. Same price. I will therefore continue to work to increase production. I can and will try many things. Make this project your own! I have the following ideas: use LM2623, LM2371, Mintyboost circuit or LVBoost to charge/power USB devices and lithium batteries with a voltage of up to 5 v. In order to achieve full output and decent efficiency, you may have to parallel something you use. Use one of the projectors- TV mural and focus it on 3-by- 3 grids for Peltiers. Connect them in series without the need for inefficient boost converters. Build a solar tracker that utilizes the output throughout the day. Get an aluminum sheet of about 10 \"10\", place the peltier radiator in the center, paint the other side in black, insulate it, and place the plexiglass on it, which will be very similar Look at the trends, both economic and consumer, for indications on your Dongguan Suncenter Fluid Control Equipment Co., Ltd's staying power. With comprehensive knowledge on gas booster,why not visit the highly recommended site Suncenter Fluid Control Equipment to get a full appreciation of the best ? Once we have a good idea of how gas booster can satisfy customer’s needs, consider whether we should create a skill for their demands. Individuals with varied technical skills use gas booster in a wide range of applications.
We are here to help you! If you close the chatbox, you will automatically receive a response from us via email. Please be sure to leave your contact details so that we can better assist